Making your own wallet is both a creative endeavor and a personal fulfillment. Whether you’re using leather or fabric, this guide will help you find the materials and steps you need to make your own wallet.
1. Required Materials
Before you start making your wallet, you will need to gather the materials you will need. Here are the basic materials:
- Leather or fabric
- Scissors
- Sewing needle and thread
- Ruler and pencil
- Adhesive (suitable for leather)
- Stapler or hole punch
- Cardboard (for template)
2. Template Preparation
First, you need to determine the dimensions of your wallet. For a standard bifold wallet, you can usually use a template that measures 22 cm x 9 cm. Cut the template out of cardboard and place it on leather or fabric.
3. Cutting Process
Using the template, carefully cut out the leather or fabric. At this stage, it is important to take care to ensure that the edges are straight. You can obtain straight lines by using a ruler during the cutting process.
4. Preparing the Pocket Compartments
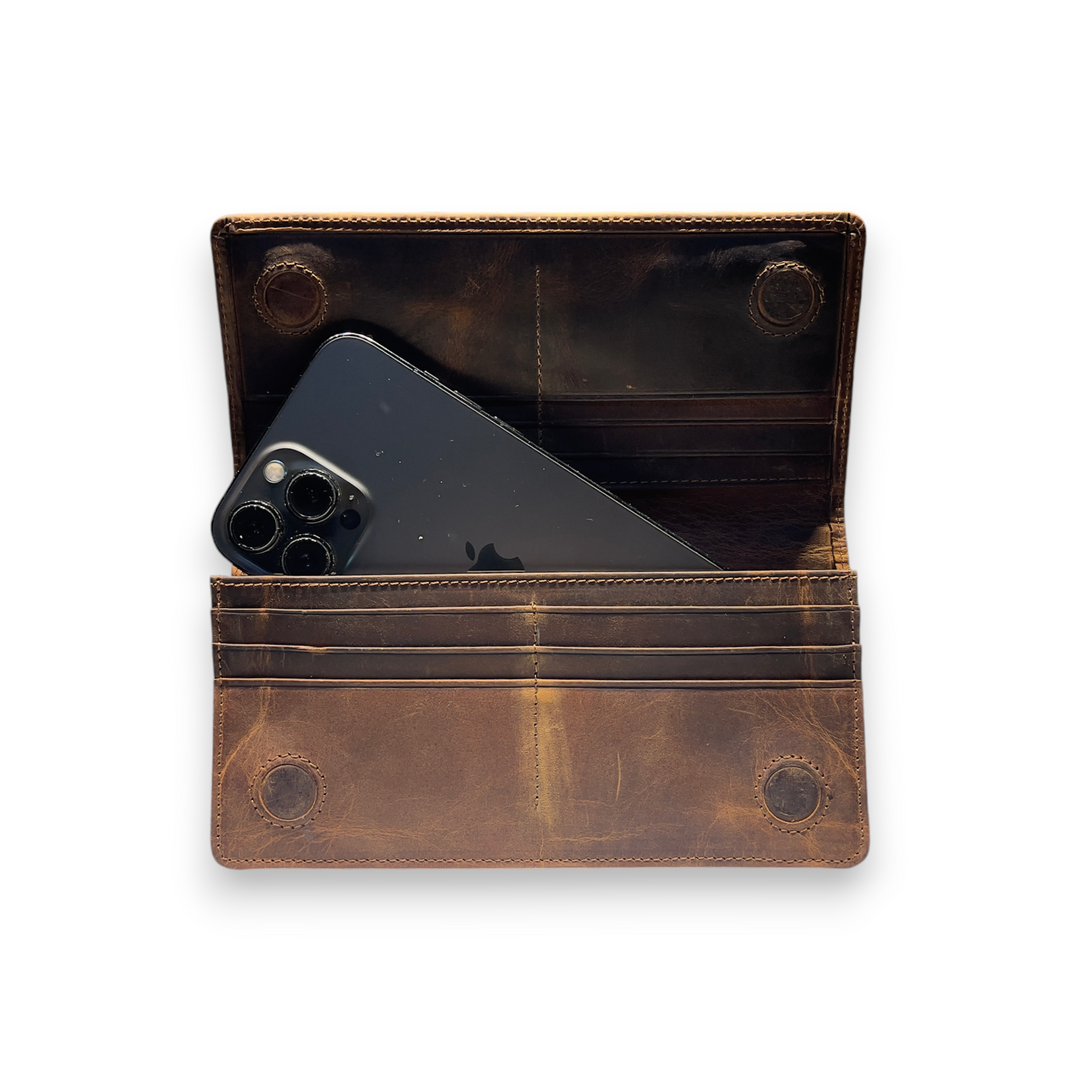
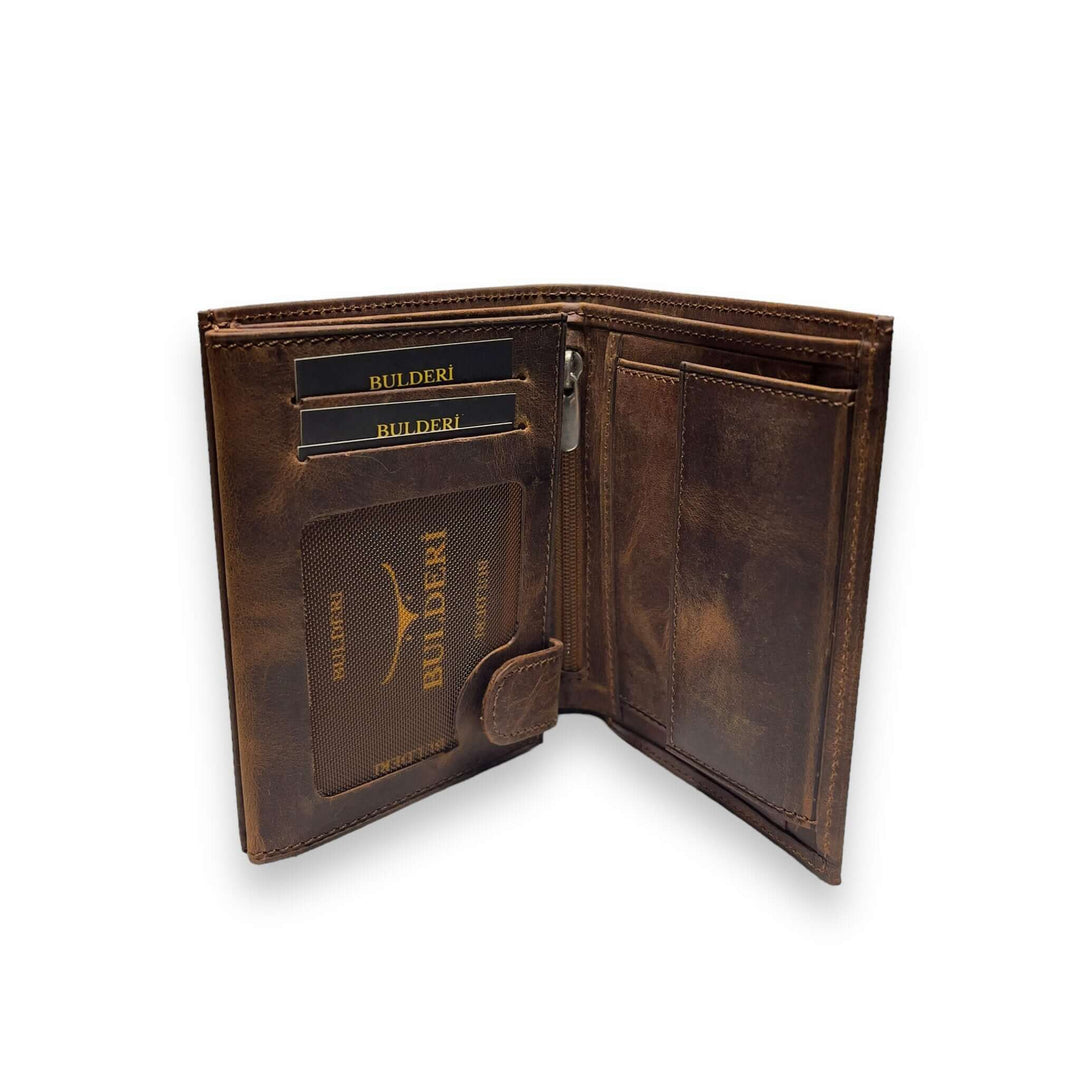
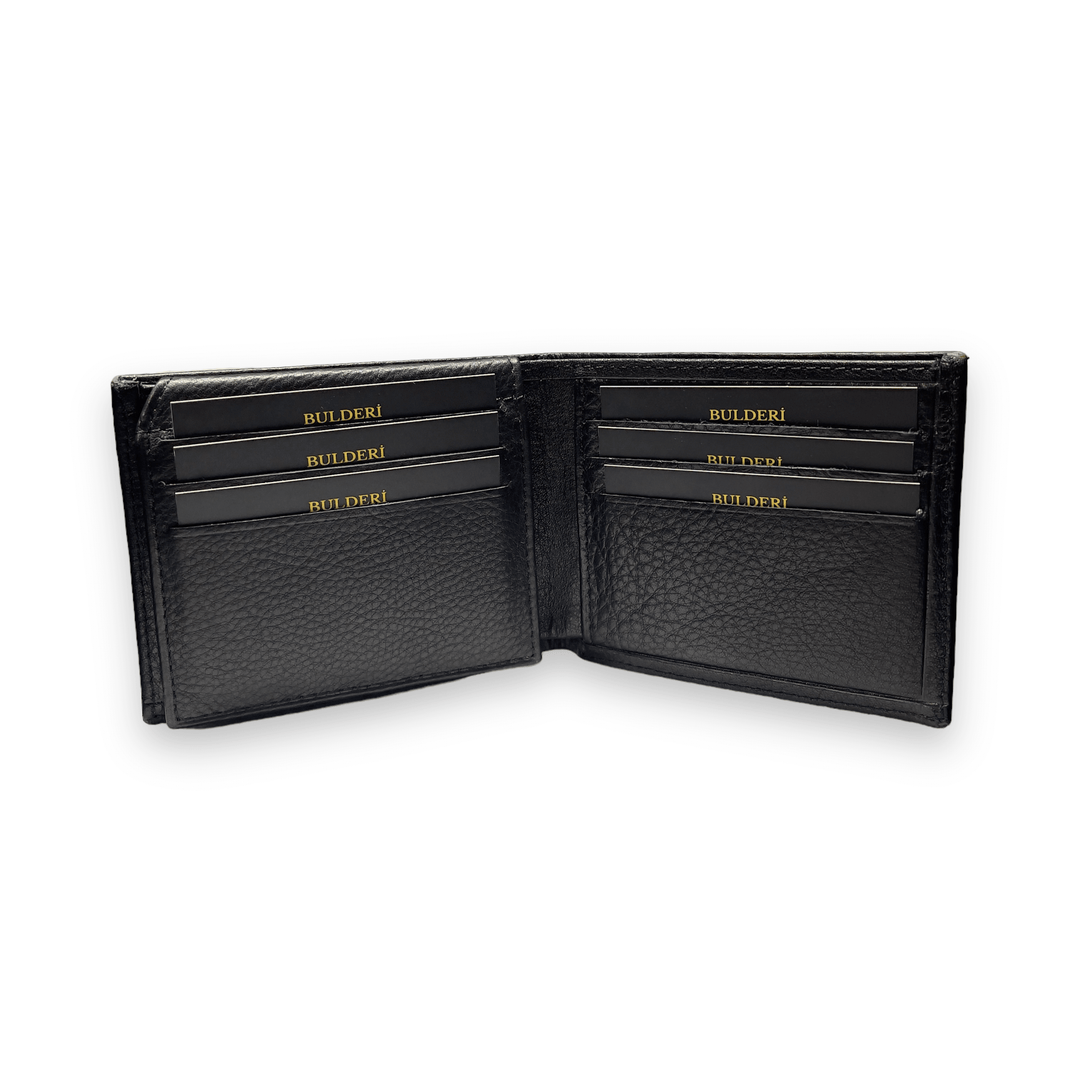
Cut small pieces to create card and money compartments inside your wallet. A few pieces measuring 9 cm x 6 cm will be enough for the card compartments. You can also cut these pieces using a template.
5. Glue the Pocket Partitions
Place the cut small pieces on the inside of the wallet and secure with glue. Once the glue dries, it will be ready for sewing.
6. Sewing Process
You will need to sew to secure the glued pieces. Sew the edges carefully using a sewing needle and thread. You can use a punch or a hole punch to make holes in the leather stitching and then pass the thread through the holes. This will help the stitching to be more neat.
7. Assembling the Main Body of the Wallet
Fold the larger piece in half to create the main body of the wallet. Secure the edges with glue and then sew. This will shape the wallet and make it ready to use.
8. Final Touches
Once you have completed your wallet, smooth the edges and trim off any excess if necessary. For leather wallets, you can sand the edges to give them a smoother look. For fabric wallets, you can overlock the edges to reinforce them.
9. Get Your Wallet Ready for Use
Finally, let your wallet rest for a few hours so the glue can dry completely and the stitching can settle. Now you're ready to use your handmade wallet!
Conclusion
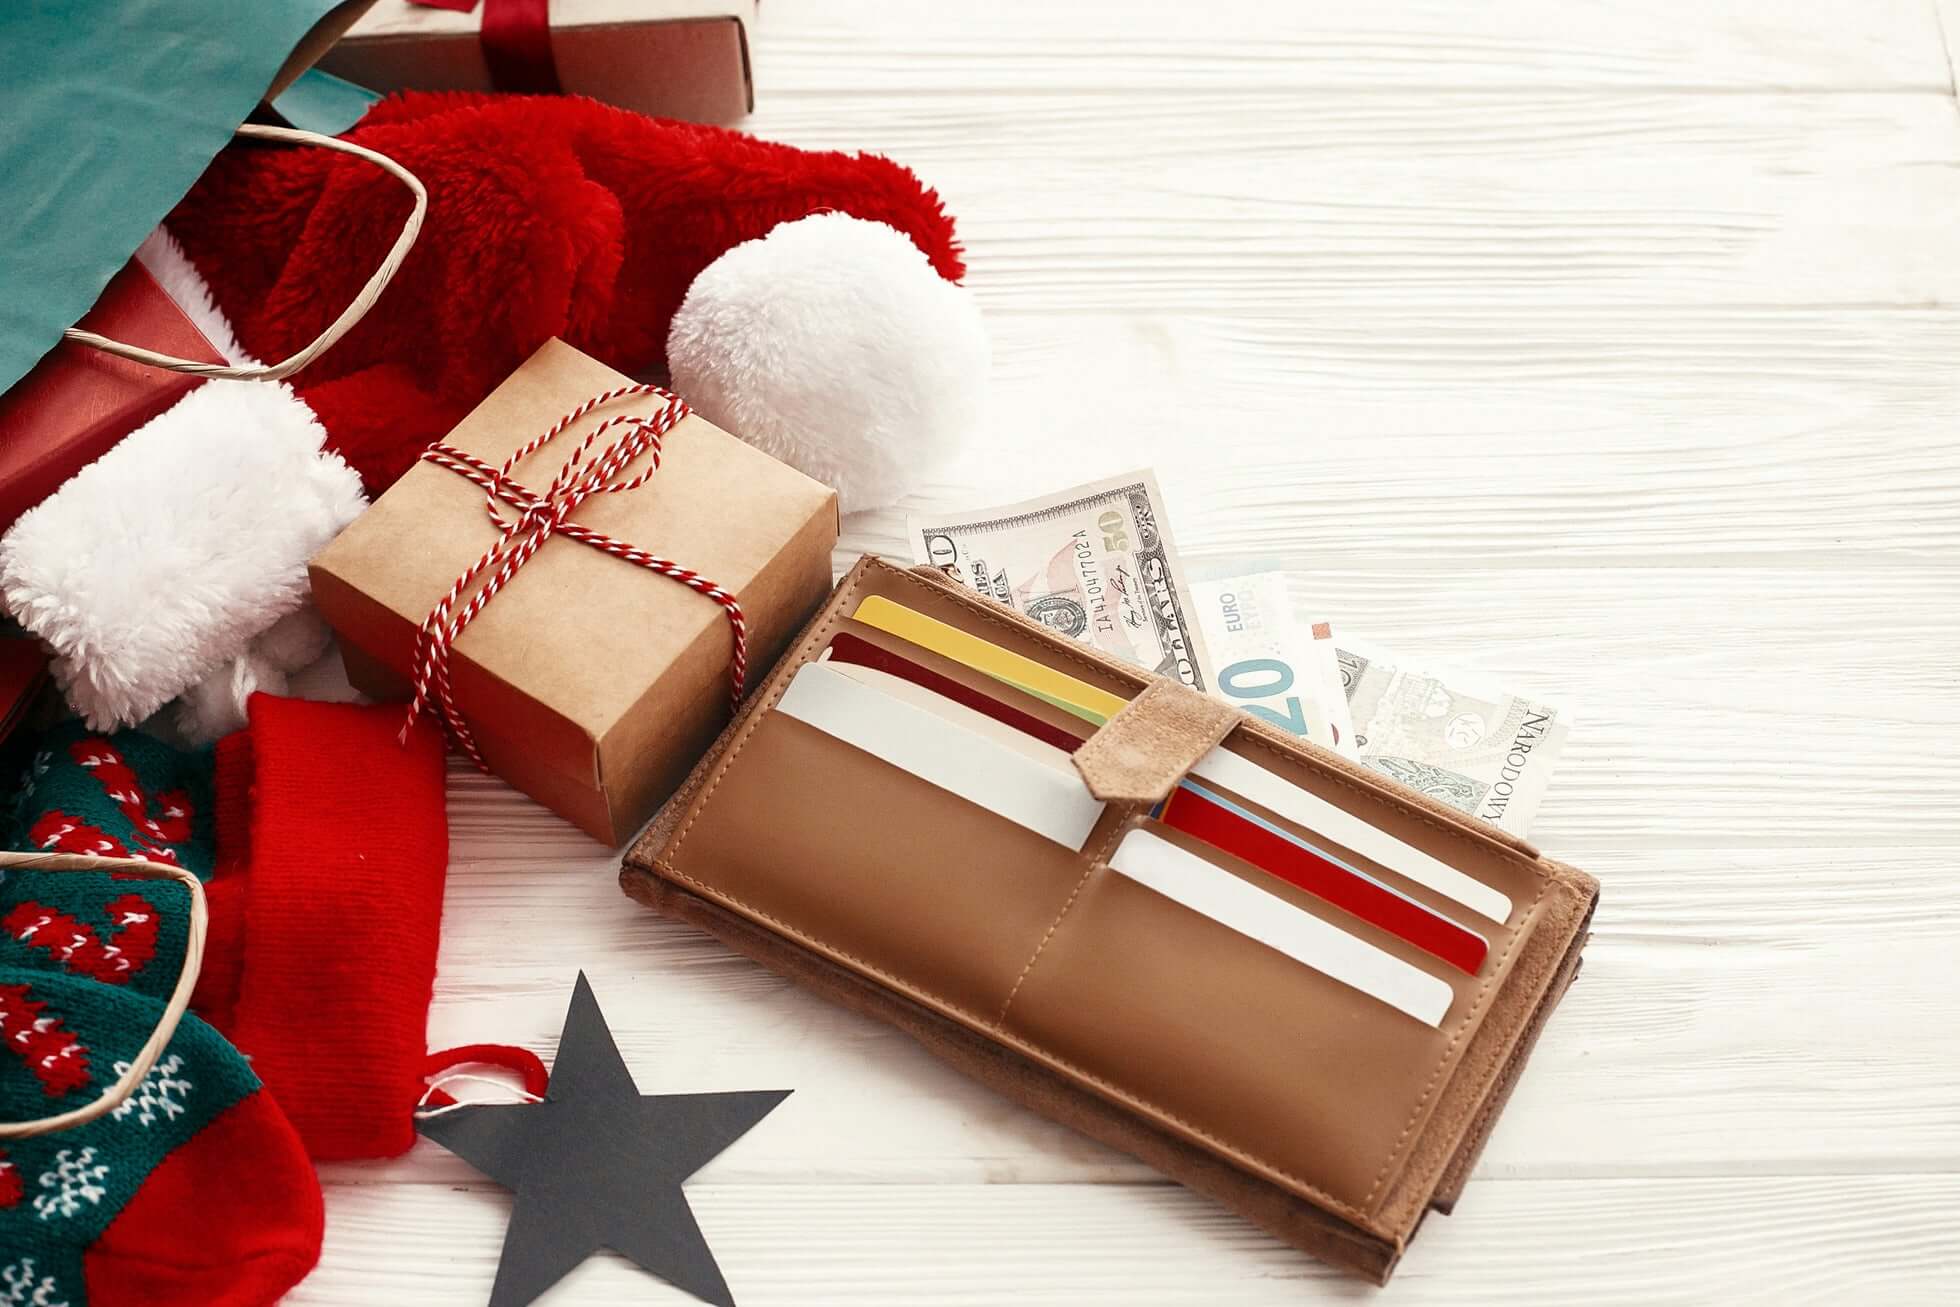
Making your own wallet is both fun and economical. By following these steps, you can create a unique and useful wallet. Also, handmade wallets can be a great gift option for your loved ones.
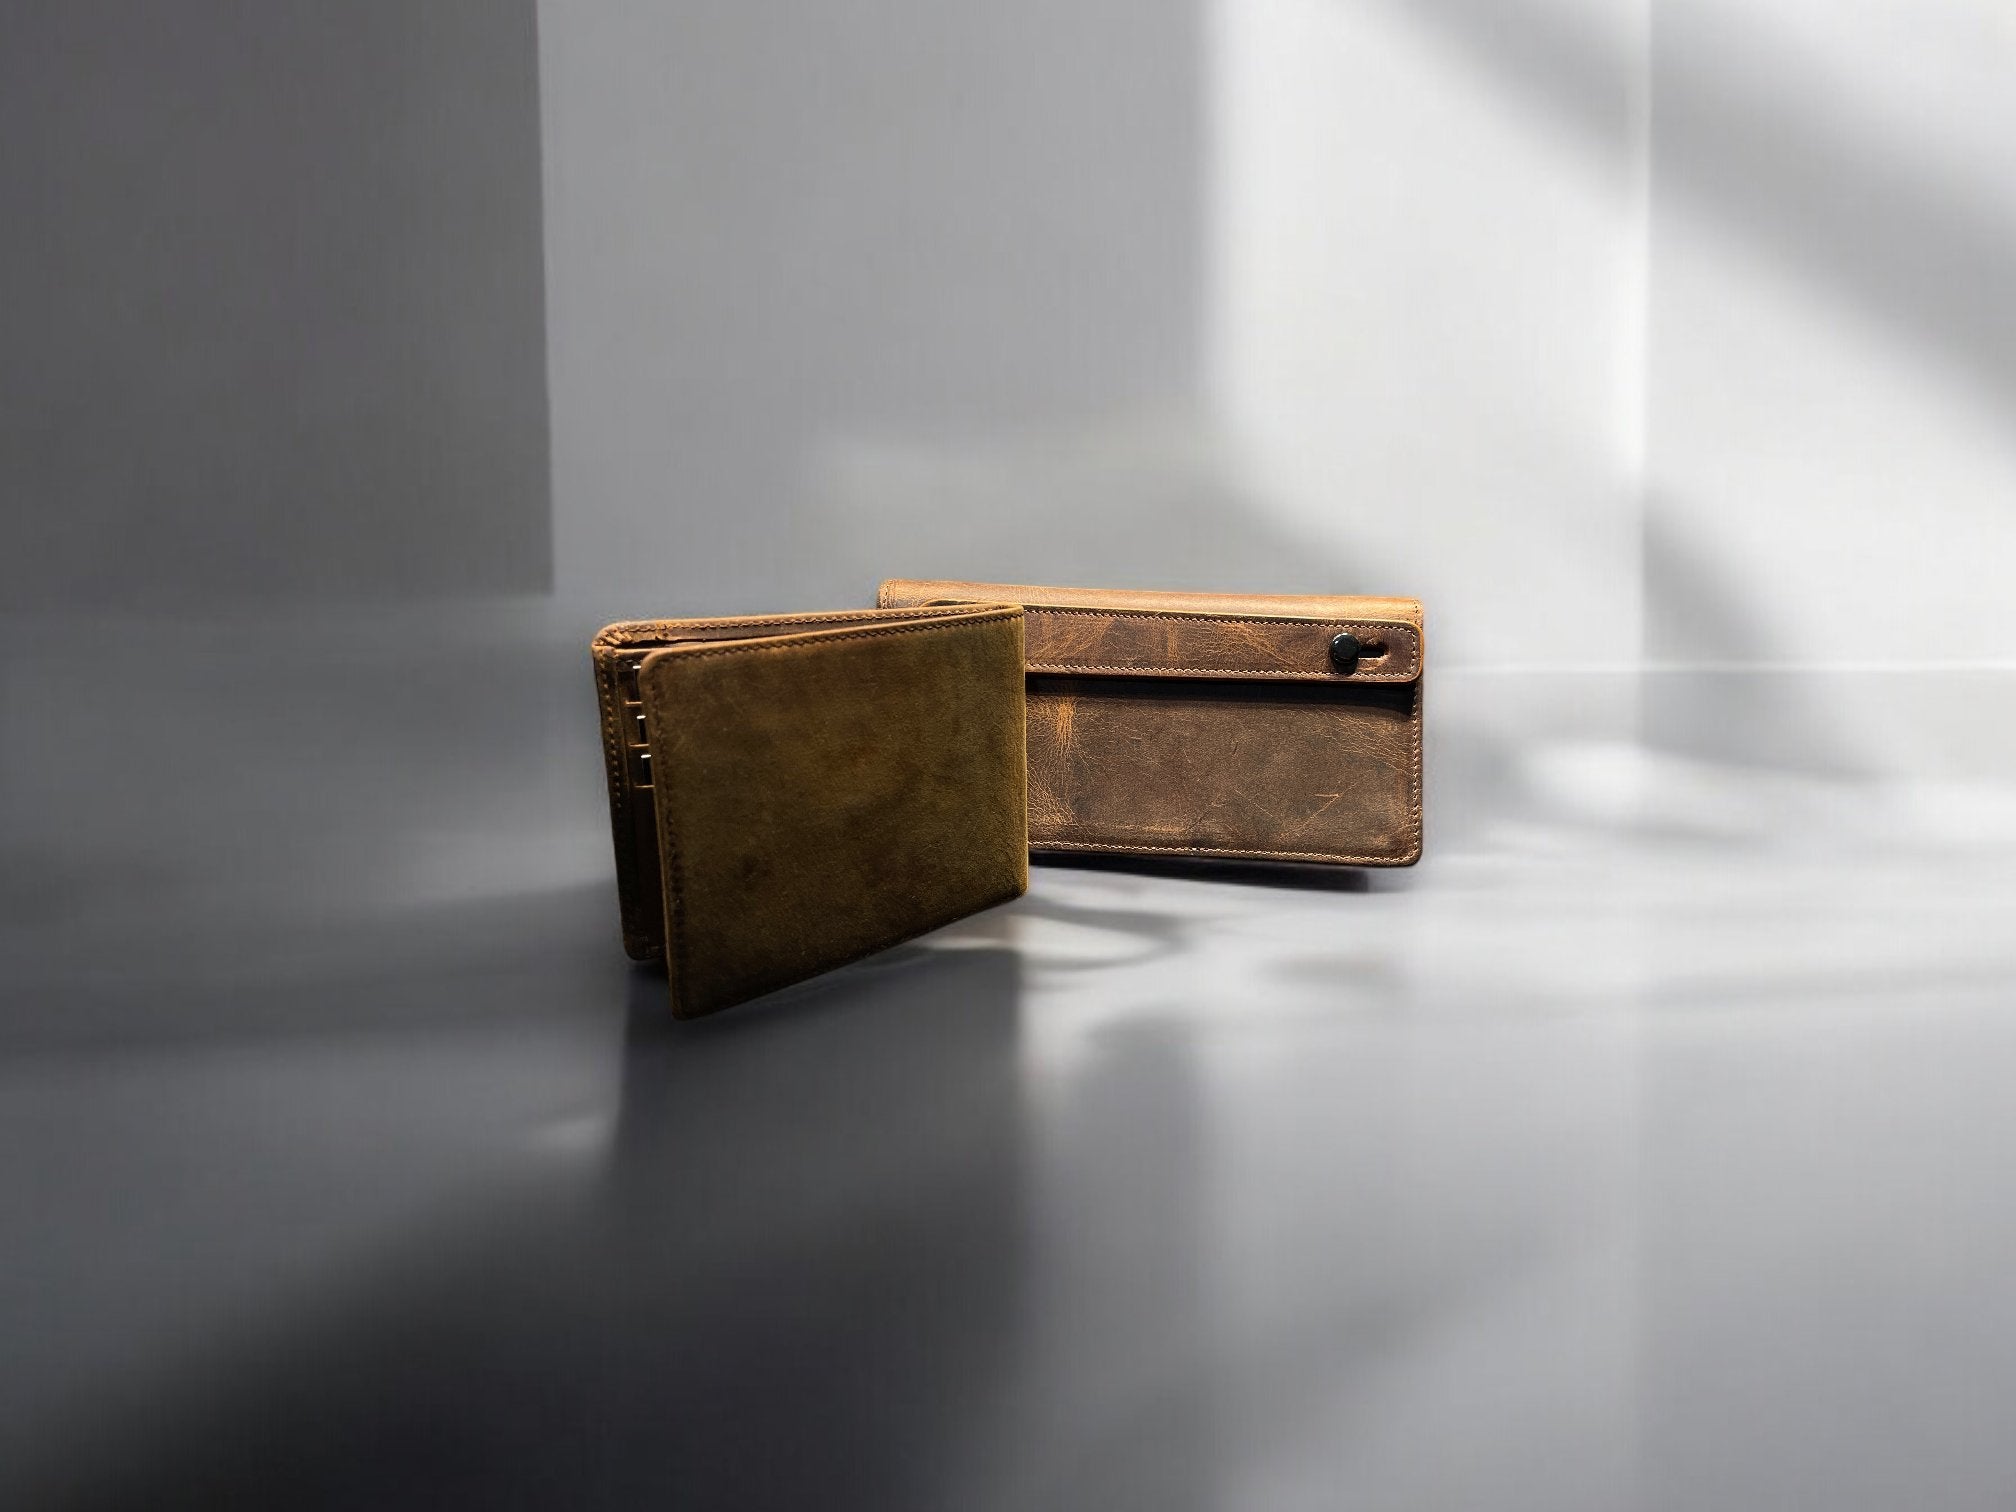
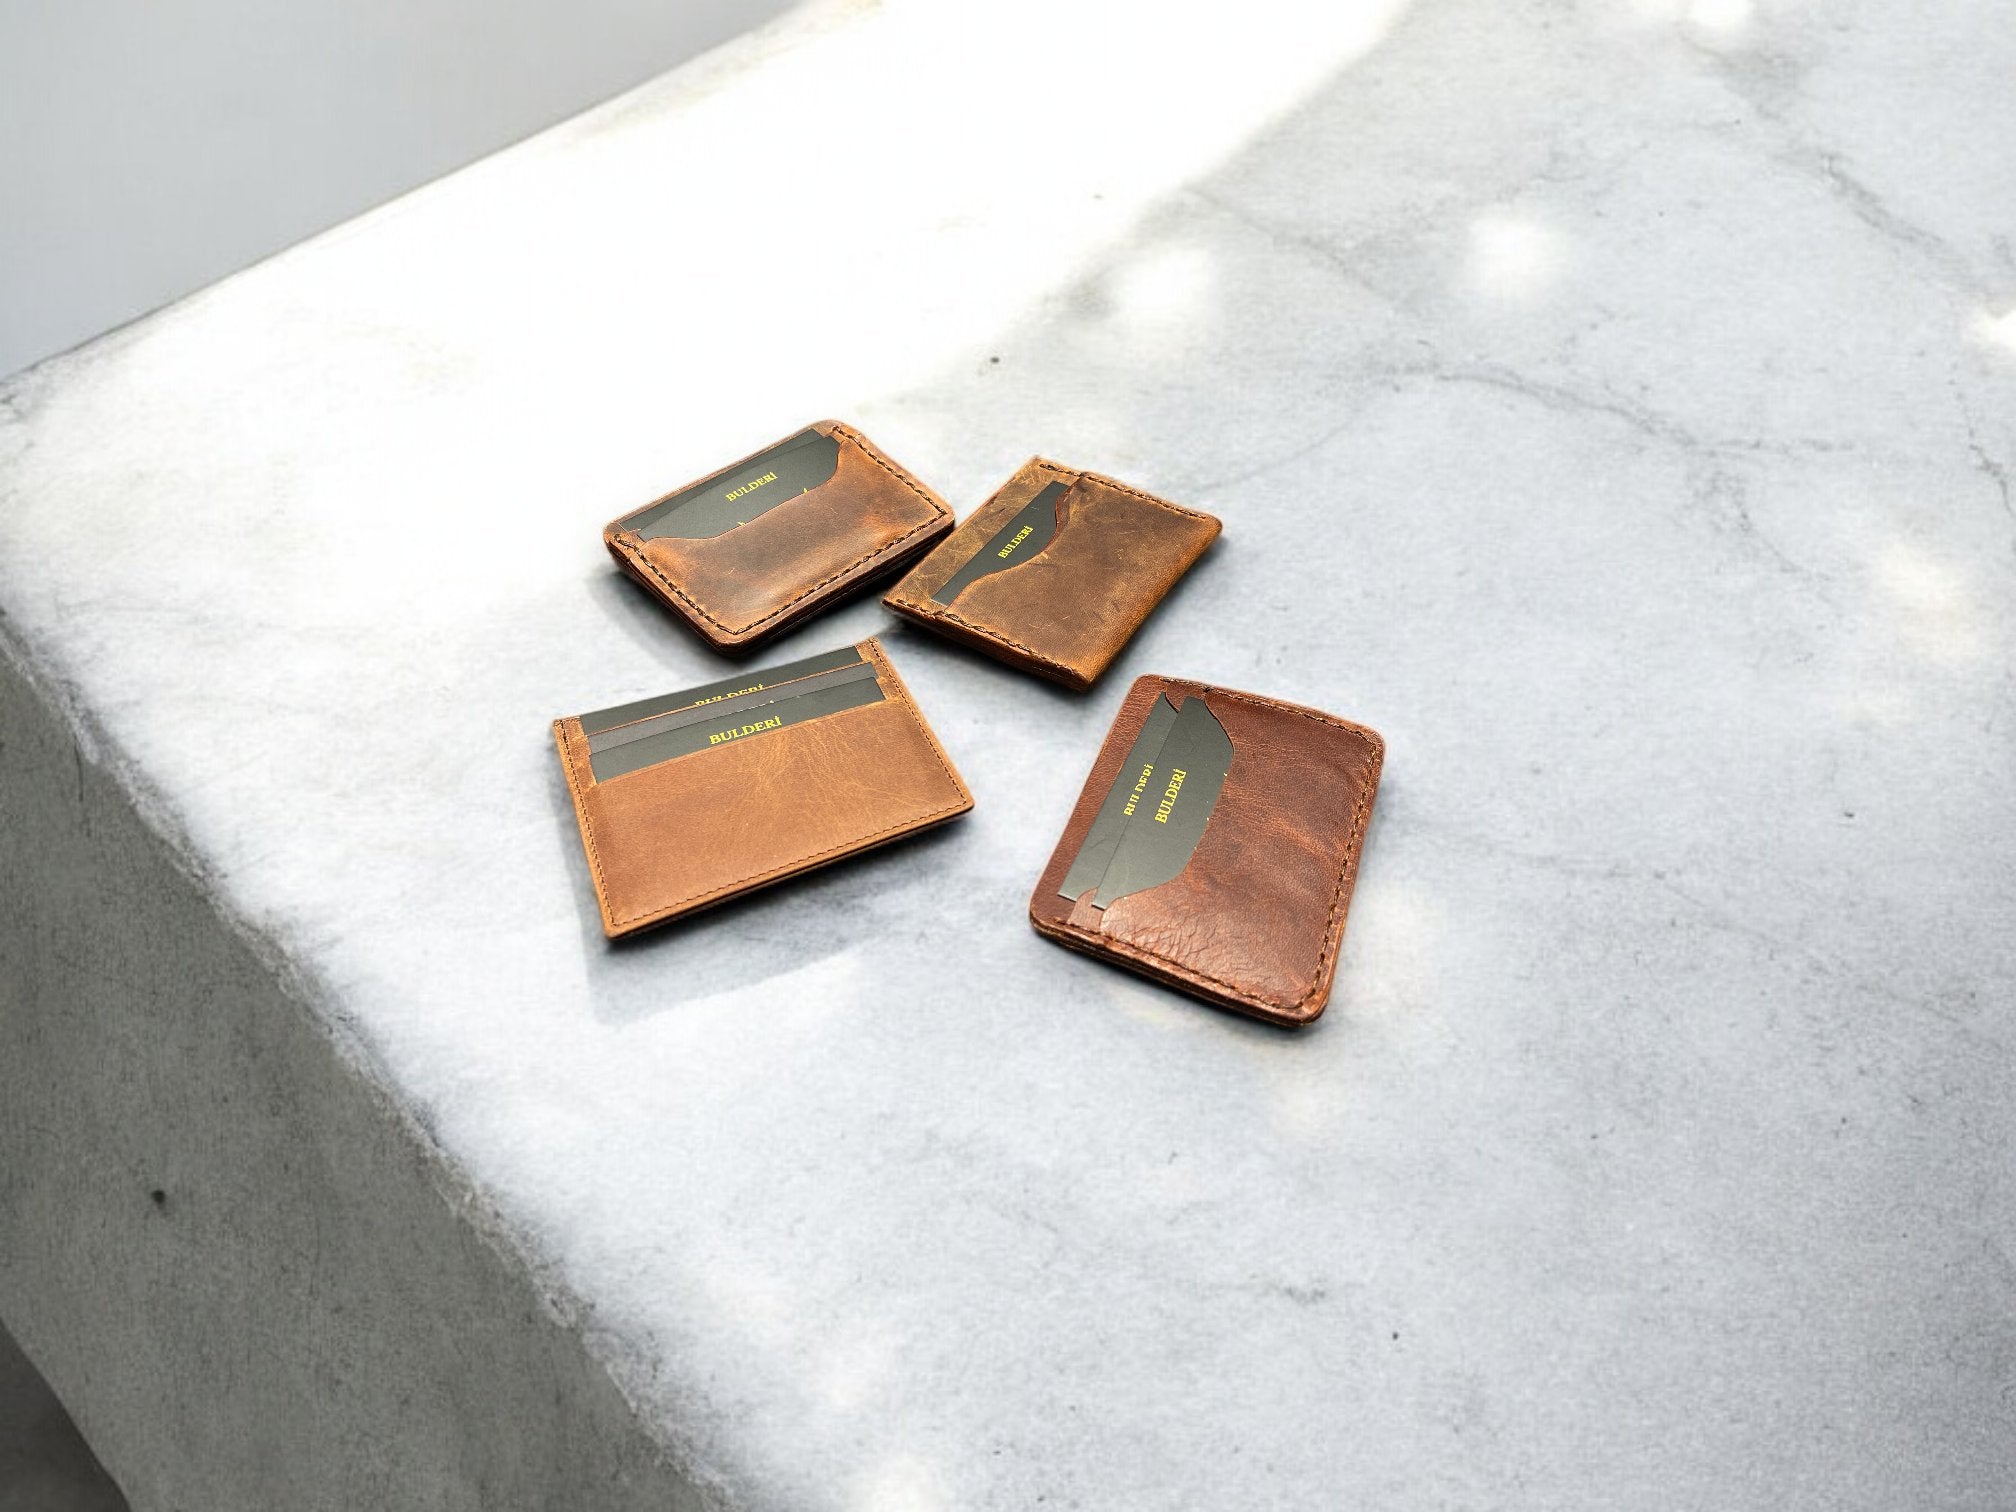
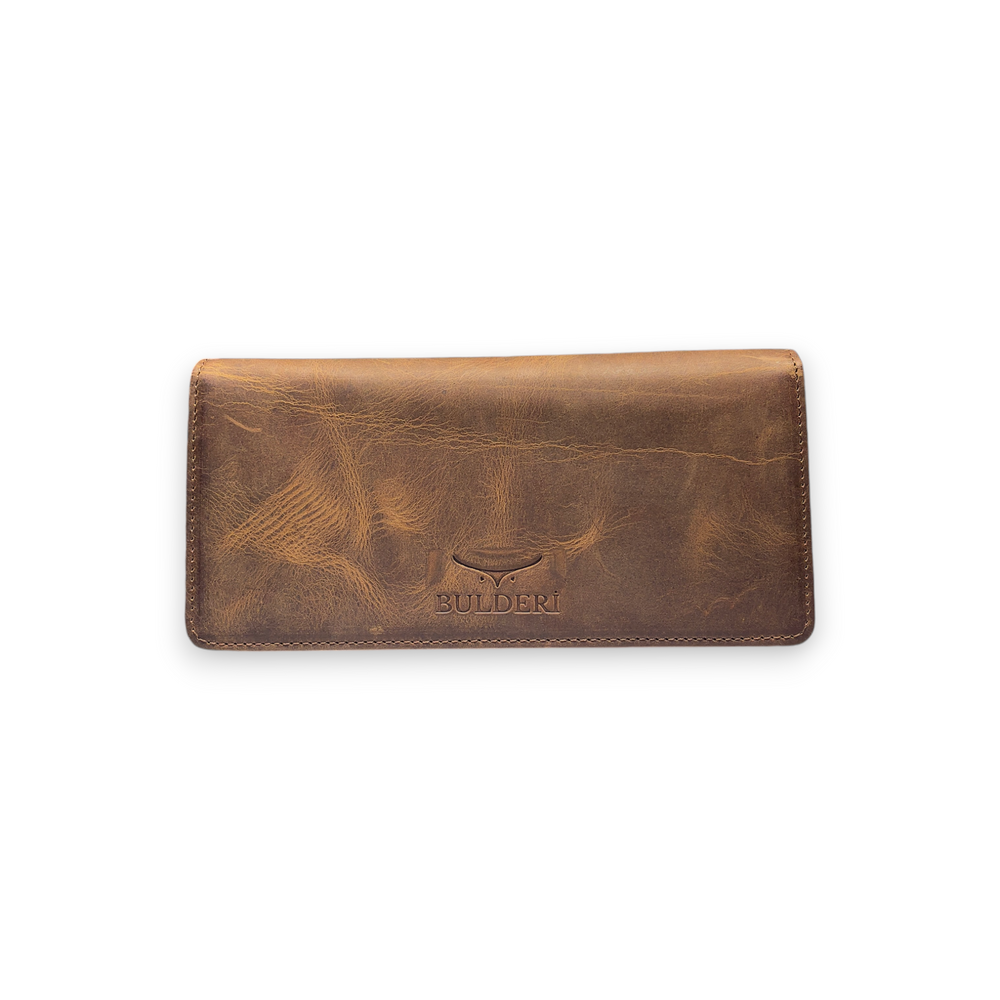
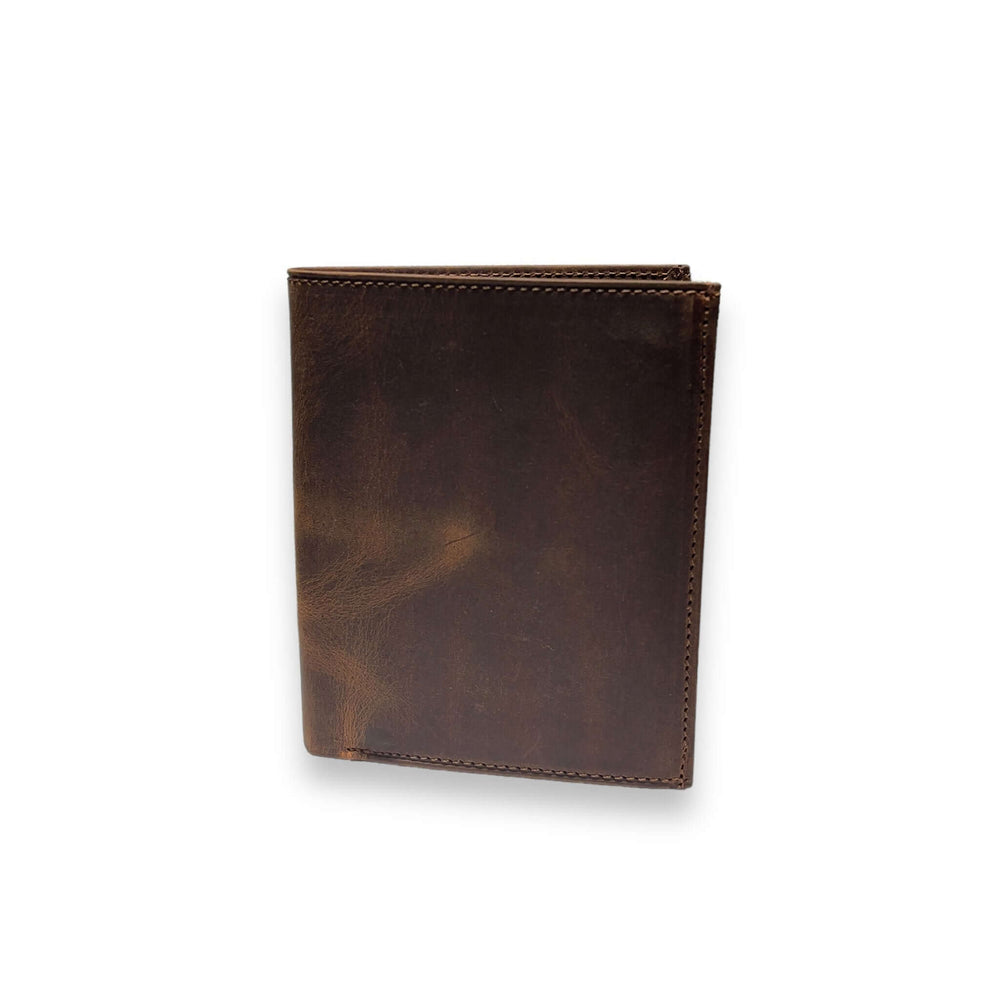
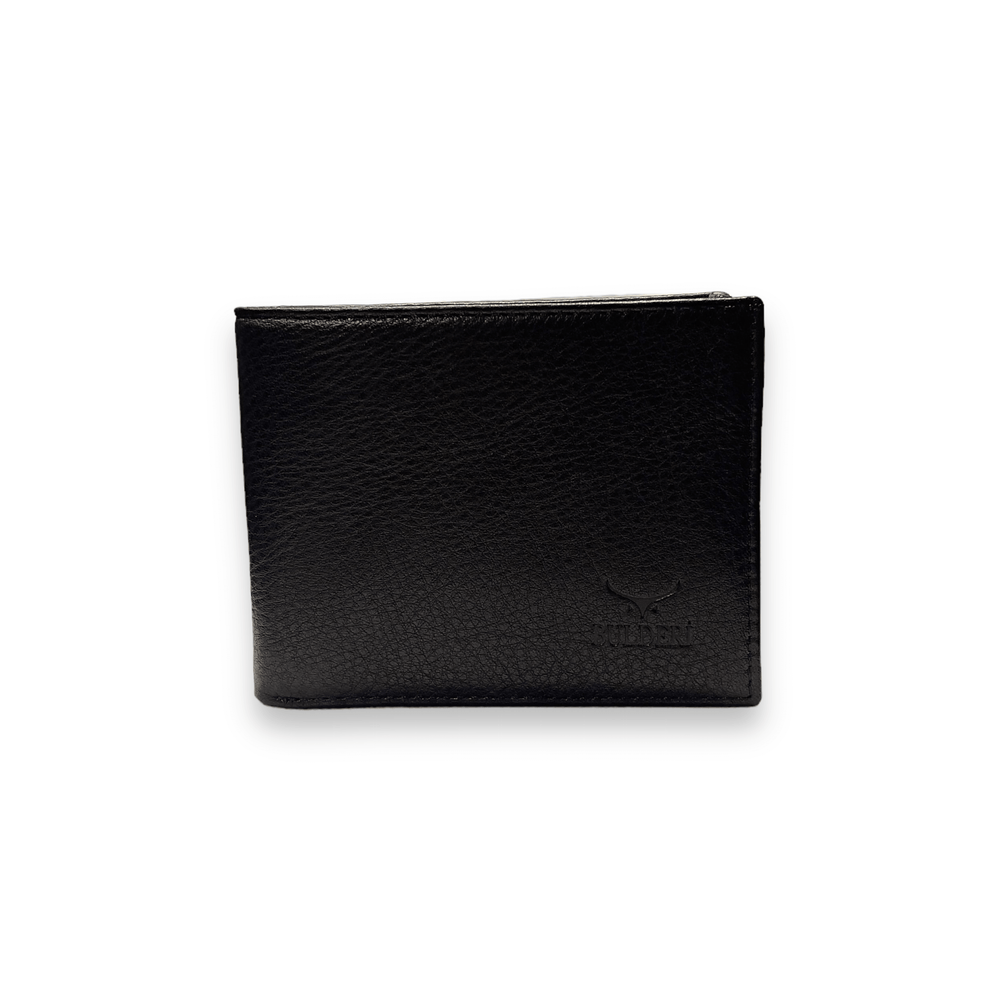
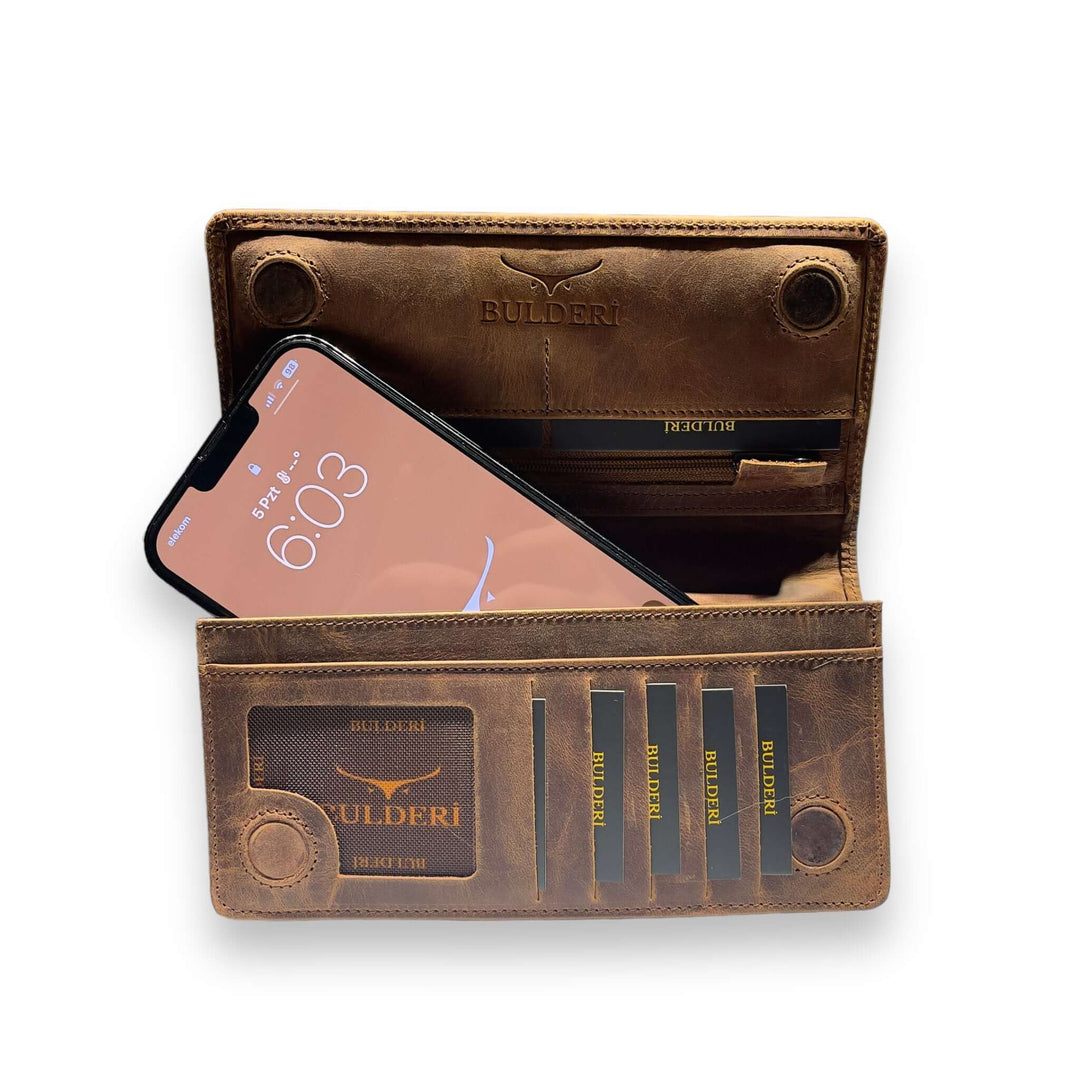
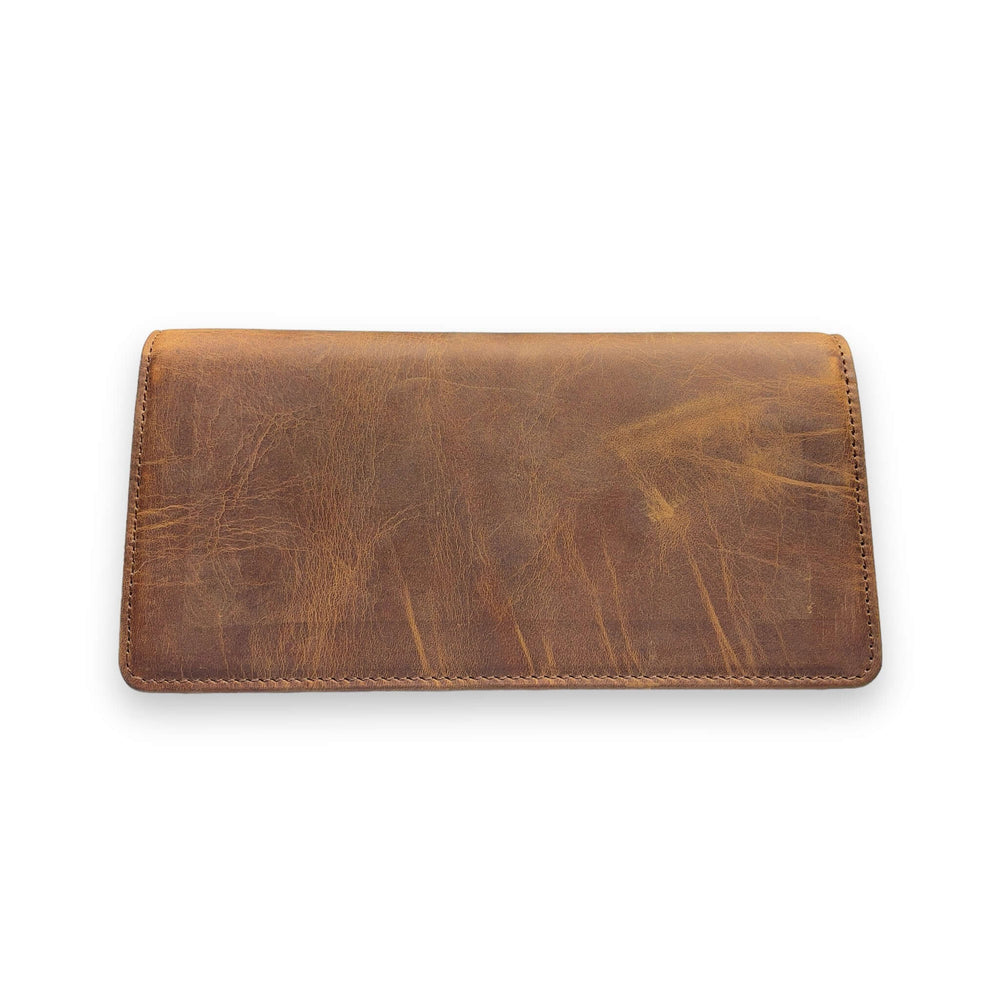
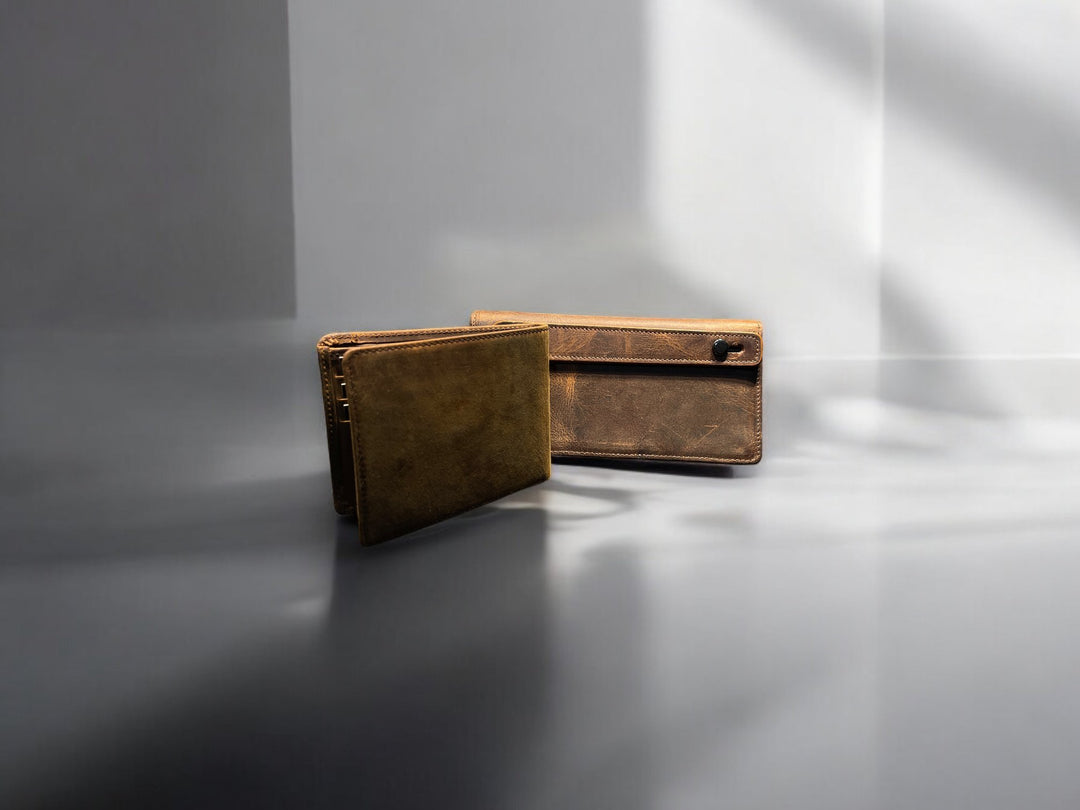
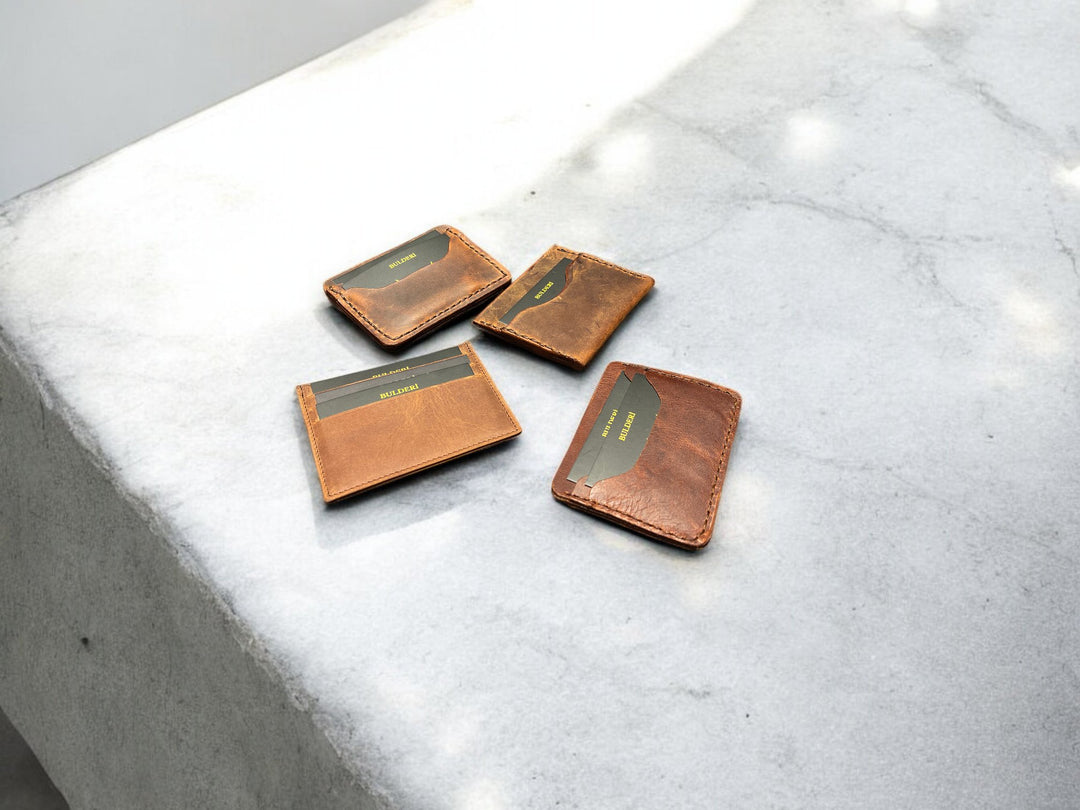
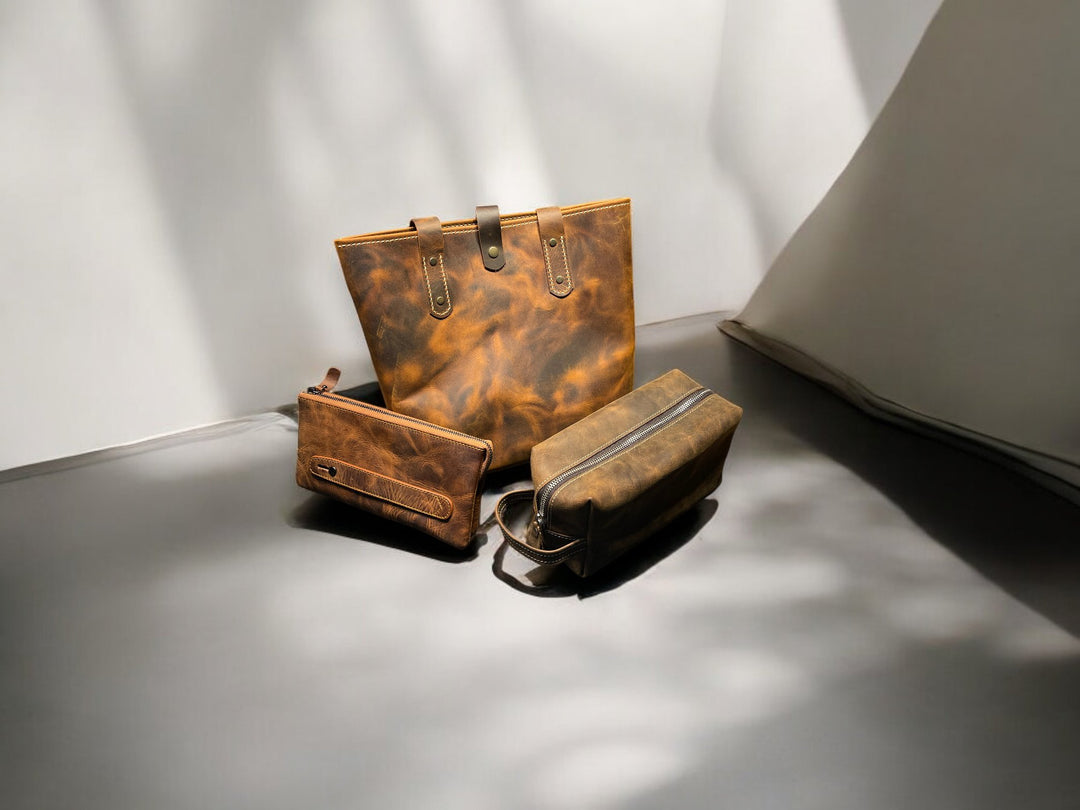
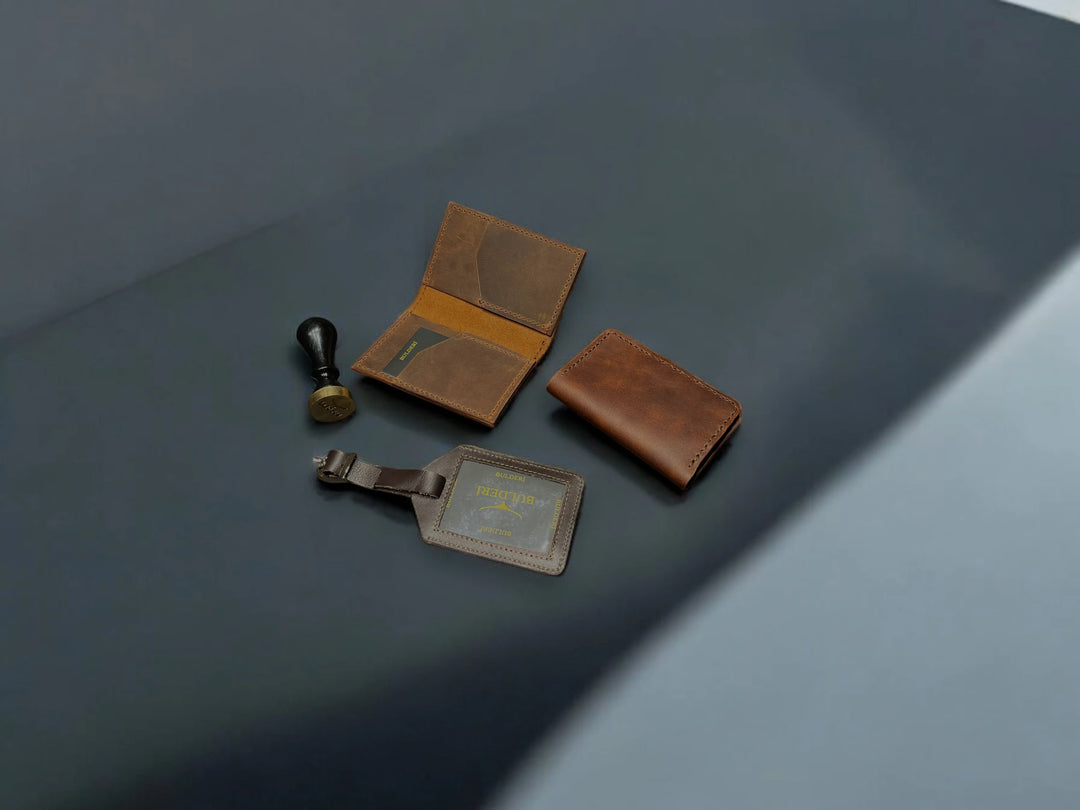
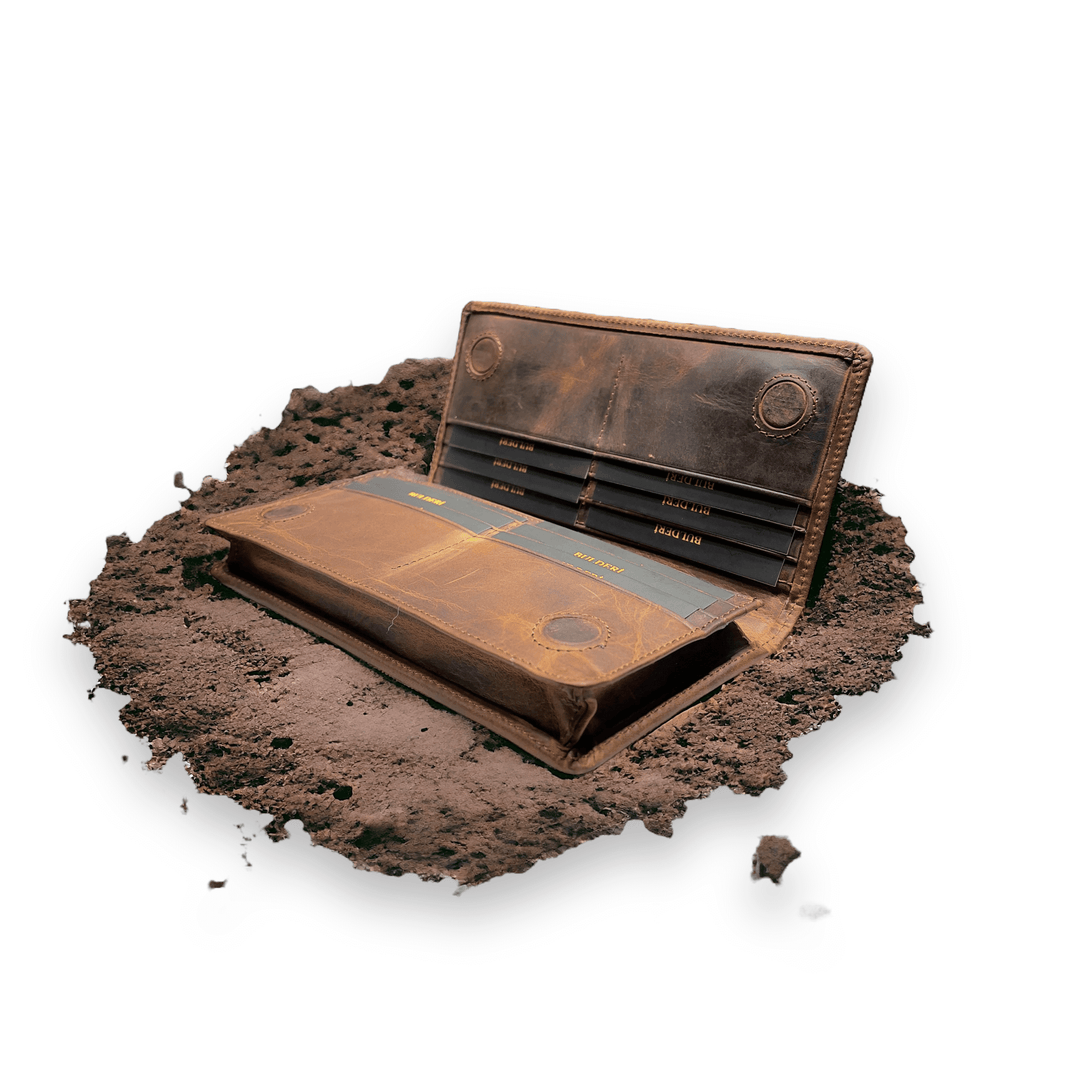
Also, if you want to read our article about leather hobby sets, you can click here . Or, if you want to see our wallet collections made of 100% Genuine Calfskin as an example, you can click here .


Leave a comment